To start sewing, you need a basic mechanical or simple computerized sewing machine with a straight stitch and a zigzag stitch, plus a short core kit: fabric scissors kept only for fabric, pins or clips, a seam ripper, a tape measure, a fabric marker, universal needles, all-purpose thread and an iron. A serger, a rotary cutter set, a dress form and specialty presser feet can all wait, because the machine and kit above cover first-year projects, and you will choose extras far better once you know what you like to sew.
Machines differ, so read everything below as common practice rather than fixed rules. Whenever your own machine manual says something different, the manual comes first.
If you have not set up a sewing space yet, start with how to start sewing as a complete beginner.
What does a first sewing machine really need?
A first sewing machine needs six things: a straight stitch, a zigzag stitch, adjustable stitch length, a reverse lever or button, easy bobbin loading and, ideally, a free arm. Everything beyond that is a bonus, not a requirement.
Here is why each one matters:
- Straight stitch. This is the stitch for almost every seam you will sew. Many machines default to a stitch length of around 2.5 mm, which suits most medium-weight cotton.
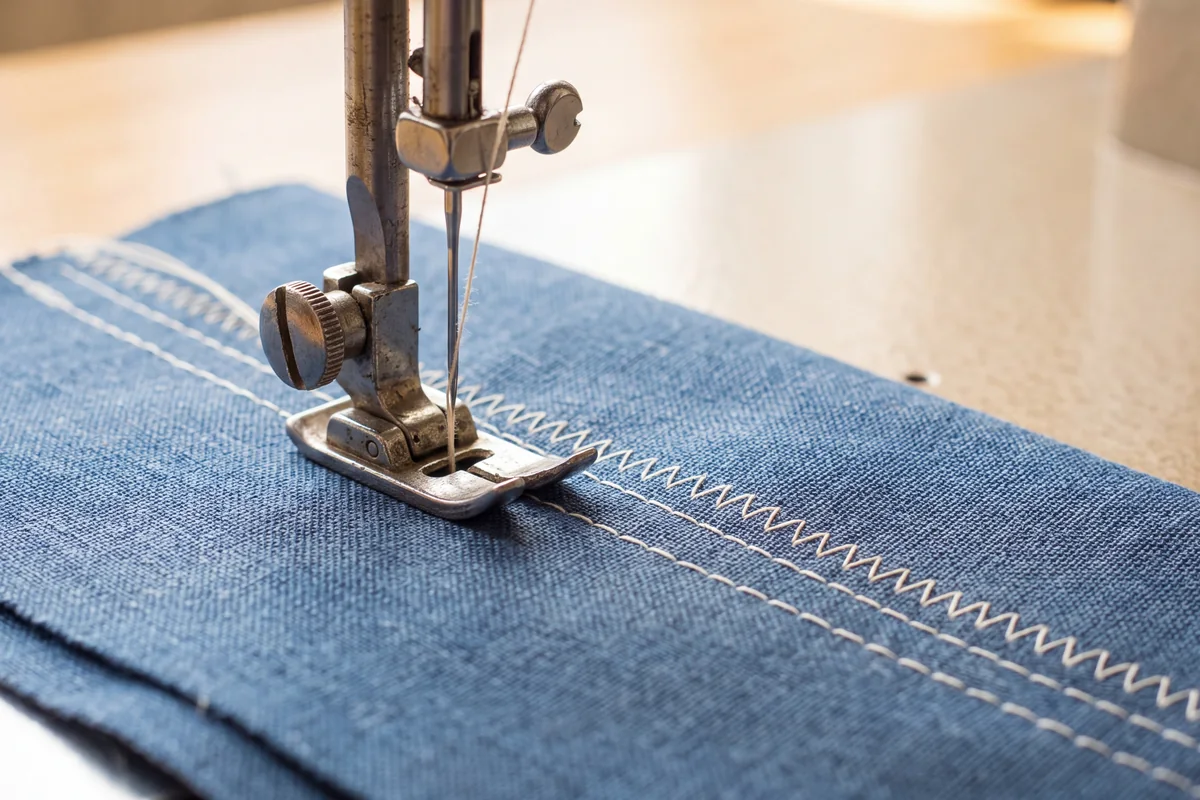
- Zigzag stitch. Zigzag finishes raw edges so they fray less, and it gives a little stretch for knit fabrics. Adjustable zigzag width is helpful but not essential.
- Adjustable stitch length. A longer stitch, around 4 to 5 mm, is used for basting (temporary stitches you remove later) and for gathering. A shorter stitch makes a firmer seam.
- Reverse lever or button. You use it to backstitch, which means sewing a few stitches backward at the start and end of a seam so it does not unravel.
- Easy bobbin loading. The bobbin is the small spool under the needle that supplies the lower thread. A drop-in (top-loading) bobbin with a clear cover lets you see when thread is running low. A front-loading bobbin in a removable case works well too; it just takes a little more practice.
- Free arm. On many machines, the accessory tray slides off to reveal a narrow arm. You can slip sleeves, cuffs and trouser hems around it instead of sewing them flat.
Two parts you will hear about constantly: the presser foot is the small metal foot that holds fabric flat while you sew, and the feed dogs are the little metal teeth under it that move the fabric along. A steady presser foot and feed dogs that grip evenly matter more than a long list of decorative stitches. For the rest of the machine, part by part, see parts of a sewing machine and what each one does.
Mechanical or computerized: which is easier for a beginner?
Either type is fine for a beginner. A mechanical machine sets stitch type, length and width with dials and knobs; a computerized machine uses buttons and a small screen. Choose the one whose controls make sense to you at a glance.
Mechanical machines are simple to read: you turn a dial and the setting is right there, with fewer electronic parts.
Simple computerized machines often add calming extras, such as a speed control slider and a button that stops the needle up or down. The tradeoff is more menus and electronics.
What matters more than the type is that the machine has the six features above and feels steady when you sew a seam.
Is a secondhand or borrowed machine a good way to start?
Yes, a secondhand or borrowed machine is often a good way to start, as long as it has been serviced, sews a clean straight seam and comes with (or can be matched to) its manual.
Before you rely on it:
- Have it serviced. A technician can clean out lint, oil it where the maker recommends and check the timing and tension.
- Check it sews a straight seam. Thread it with all-purpose thread and sew a seam on two layers of medium-weight cotton at about 2.5 mm. The stitches should look even on both sides, with no loops or nests underneath.
- Try the basics. Sew a few stitches in reverse, try the zigzag, and listen for grinding or knocking. Check the foot pedal and power cord for cracks or damage.
- Get the manual. The model number is usually on a plate on the back or underside of the machine. Many makers offer manuals free to download from their websites, so searching the model number is a good first step.
- Get the right bobbins. Bobbins that look alike are not always interchangeable. Buy spares made for that machine, as the manual describes.
The core kit: what you need on day one
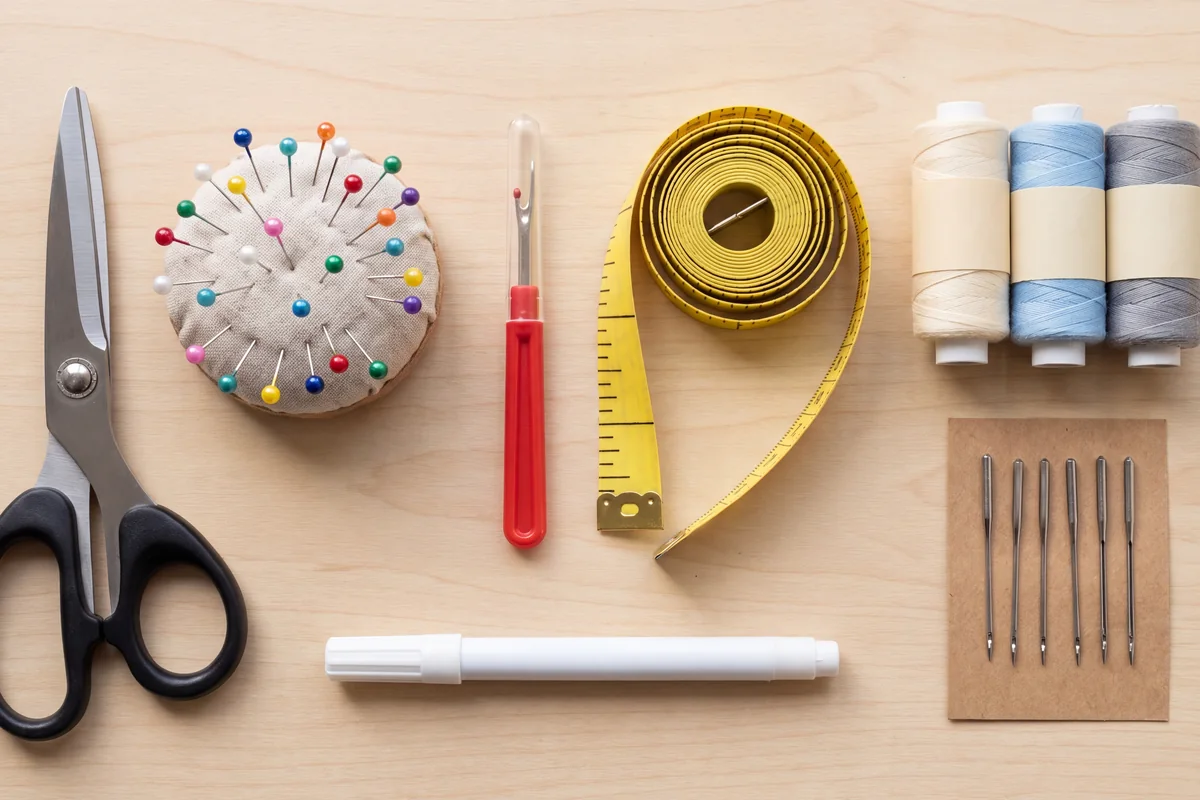
The core kit is short on purpose. Each item below does a job you will need in your first projects:
- Fabric scissors. Dressmaking shears, commonly around 8 in (20 cm) long, cut fabric cleanly and accurately.
- Pins or clips. They hold layers together before you sew. Glass-head pins are a common choice because they will not melt under an iron the way some plastic heads can. Clips suit thick layers and fabrics where pin holes would show.
- Seam ripper. It removes stitches without cutting the fabric. Unpicking a seam is a normal part of sewing, not a sign you are doing it wrong.
- Tape measure. A flexible tape, usually 60 in (150 cm), measures fabric, bodies and finished pieces. One marked in both inches and centimeters is handy.
- Fabric marker. Tailor’s chalk or a water-soluble fabric pen marks cutting and stitching lines. Test any marker on a scrap first, because not every mark comes out of every fabric.
- Universal needles. These suit most woven fabrics you will use at the start. More on sizes below.
- All-purpose thread. Polyester all-purpose thread works with most beginner fabrics.
- An iron. Pressing makes seams lie flat and projects look finished. More on pressing tools below.
Optional: a pincushion, and a 6 in (15 cm) sewing gauge for checking seam allowance (the distance from fabric edge to stitching line).
Why keep fabric scissors for fabric only?
Keep your fabric scissors for fabric only, because cutting paper, tape or plastic dulls the blades quickly. Dull blades chew and snag fabric edges instead of cutting them cleanly.
Keep a cheap pair of household scissors for paper patterns, and tie a ribbon on the fabric pair so everyone at home knows they are off limits.
Needles and thread basics
For medium-weight woven cotton, a universal 80/12 needle with all-purpose polyester thread is a common starting combination. Change the needle regularly, because a dull or bent needle causes skipped stitches, snags and thread trouble.
Needle sizes carry two numbers. The first is the European size and the second is the US size, so 80/12 is one size, not two. Higher numbers mean a thicker needle: lighter fabrics often use a 70/10, while heavier fabrics such as denim and canvas usually need a jeans (denim) needle in 90/14 or larger. Knit fabrics usually sew better with a ballpoint or stretch needle, which pushes between the fibers instead of piercing them. The SCHMETZ needles by fabric type chart matches needle types to common fabrics.
Needle maker SCHMETZ suggests a new needle after about 8 hours of sewing (SCHMETZ), and many sewists simply fit a fresh one for each new project. Change it straight away if it bends, hits a pin, or starts making a dull punching sound as it goes through the fabric. Fit it the way your manual shows, usually with the flat side facing the back.
For thread, good-quality all-purpose polyester is the easiest place to start. Very cheap thread tends to shed lint and break. Using the same thread in the bobbin and on top keeps things simple, and a shade slightly darker than your fabric usually blends in better than a lighter one.
Pressing tools: iron, ironing board and pressing cloth
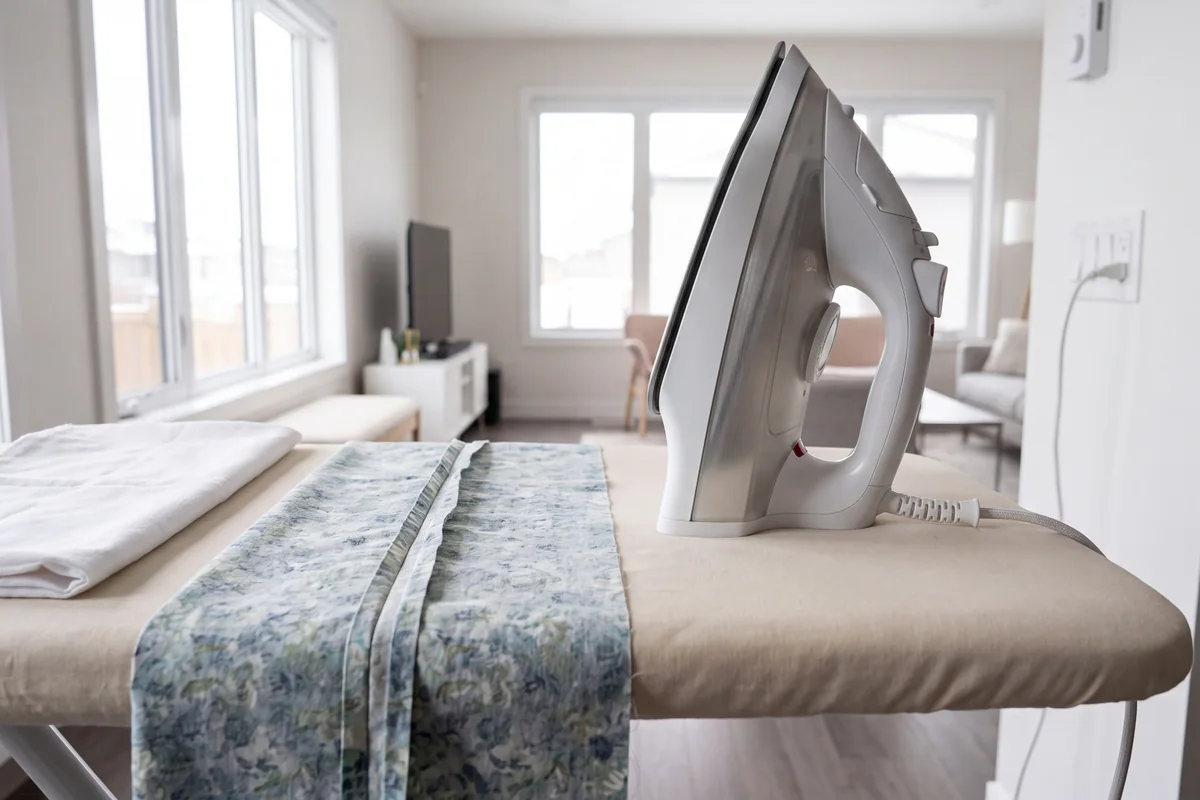
The pressing tools you need are an iron with adjustable heat and steam, an ironing board and a pressing cloth. You do not need a special sewing iron to start.
Pressing means lifting the iron and setting it down on a seam rather than sliding it, which can stretch fabric out of shape.
Iron temperature depends on the fiber. As a general guide:
- Cotton and linen: high heat, with steam.
- Wool: medium heat with steam, and a pressing cloth.
- Polyester and nylon: low heat.
- Silk: low heat, usually with a pressing cloth.
Always check the fabric care label and your iron’s dial, and test on a scrap first.
A pressing cloth is a piece of plain cotton or silk organza laid between the iron and your fabric. It prevents shiny marks and scorching on darker or delicate fabrics, and it keeps glue from fusible interfacing off the iron.
What can wait until later
None of these tools is needed for first projects, and waiting lets you buy the right version for the sewing you enjoy.
Serger
A serger (called an overlocker in the UK) trims the fabric edge, stitches the seam and wraps the edge in thread in one pass. It can wait because the zigzag stitch on a regular machine finishes edges well enough for first projects, and serger threading takes time to learn.
Rotary cutter set
A rotary cutter set is a round-bladed cutter, a self-healing cutting mat and a clear acrylic ruler. It makes fast, accurate straight cuts, especially for quilting. It can wait because fabric scissors handle everything in early projects, the full set is a bigger purchase, and the blade is very sharp.
Dress form
A dress form is a body-shaped stand for fitting and draping garments. It can wait because most first-year projects are bags, cushions and simple garments, and a dress form only helps when it is adjusted to your own measurements.
Specialty presser feet
Specialty feet include walking feet, rolled hem feet, edge-stitch feet and many more. They can wait because many machines come with a general-purpose foot plus a zipper foot and a buttonhole foot. Buy a specialty foot when a project calls for it, and check it fits your machine’s shank (the part where the foot attaches), since shank types vary between machines.
A short safety note
Unplug the machine before you change the needle or presser foot, so a bump of the foot pedal cannot start the needle moving. Close a rotary cutter blade every time you put the cutter down, even for a moment.
What to do once your kit is ready
Once your machine and kit are ready, practice straight seams, backstitching and pressing with basic sewing techniques every beginner should know. Next, pick a forgiving fabric using how to choose fabric for your first projects.
When you feel ready to make something, choose a first make from these easy sewing projects for beginners.
FAQ
Do I need a computerized sewing machine as a beginner?
No. A mechanical machine with a straight stitch, zigzag stitch, adjustable stitch length and a reverse lever handles first-year projects well. A simple computerized machine is also fine if buttons and a small screen feel easier to you.
Is it OK to start on a secondhand or borrowed machine?
Yes, as long as it has been serviced, sews a clean straight seam and you have its manual. Many makers offer manuals free to download from their websites.
What needle should a beginner use?
A universal 80/12 needle is a common choice for medium-weight woven cotton. Change it after about 8 hours of sewing or at the start of each new project, and straight away if it bends or hits a pin.
Do I need a serger to start sewing?
No. The zigzag stitch on a regular sewing machine finishes raw edges well enough for first projects. A serger makes more sense later.
Why should fabric scissors be used for fabric only?
Cutting paper, tape or plastic dulls the blades, and dull blades chew fabric edges instead of cutting them cleanly. Keep a separate pair of household scissors for paper patterns.