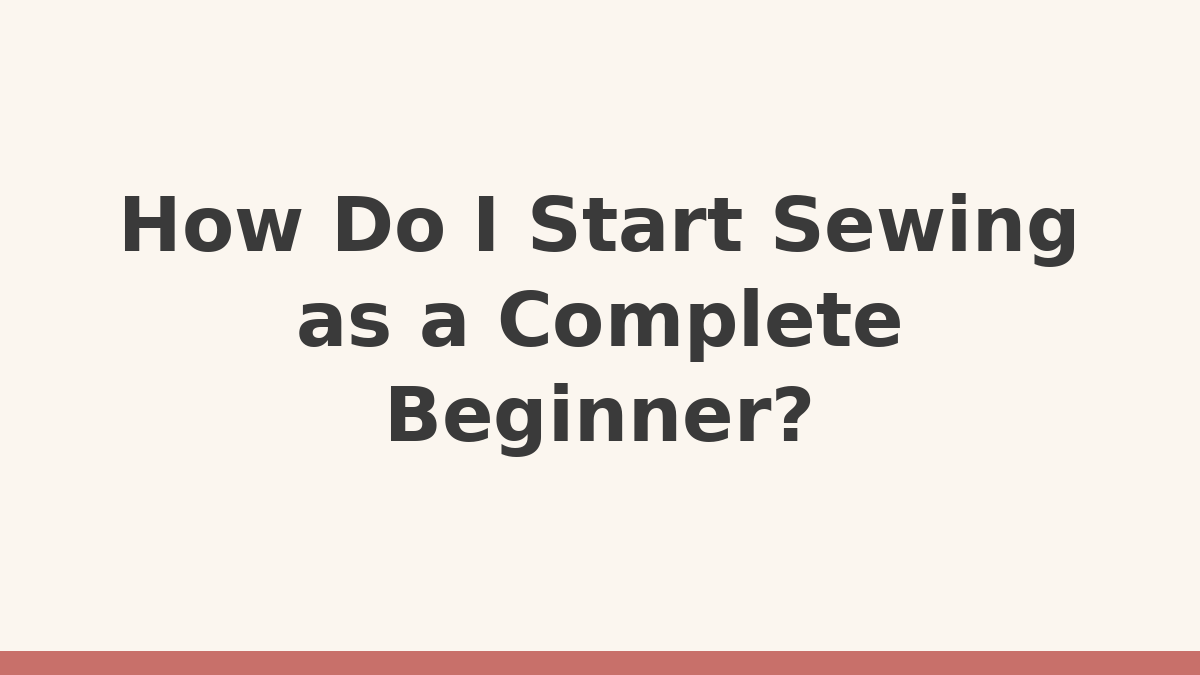
To start sewing as a complete beginner, gather a few basic tools and choose one way to stitch: a simple sewing machine or a hand needle. Practice sewing straight lines for a week or two, then make one small project, such as a drawstring bag or a pillowcase.
Below, each week has one small goal, so you always know what to practice next.
What is the easiest way to start sewing?
The easiest way to start sewing is to learn one thing at a time: first your tools, then straight lines, then one small project. You do not need a sewing room, a big budget or every gadget in the shop.
Overwhelm usually comes from learning fabric, patterns, settings and finishing all at once. One small goal per session keeps sewing relaxing.
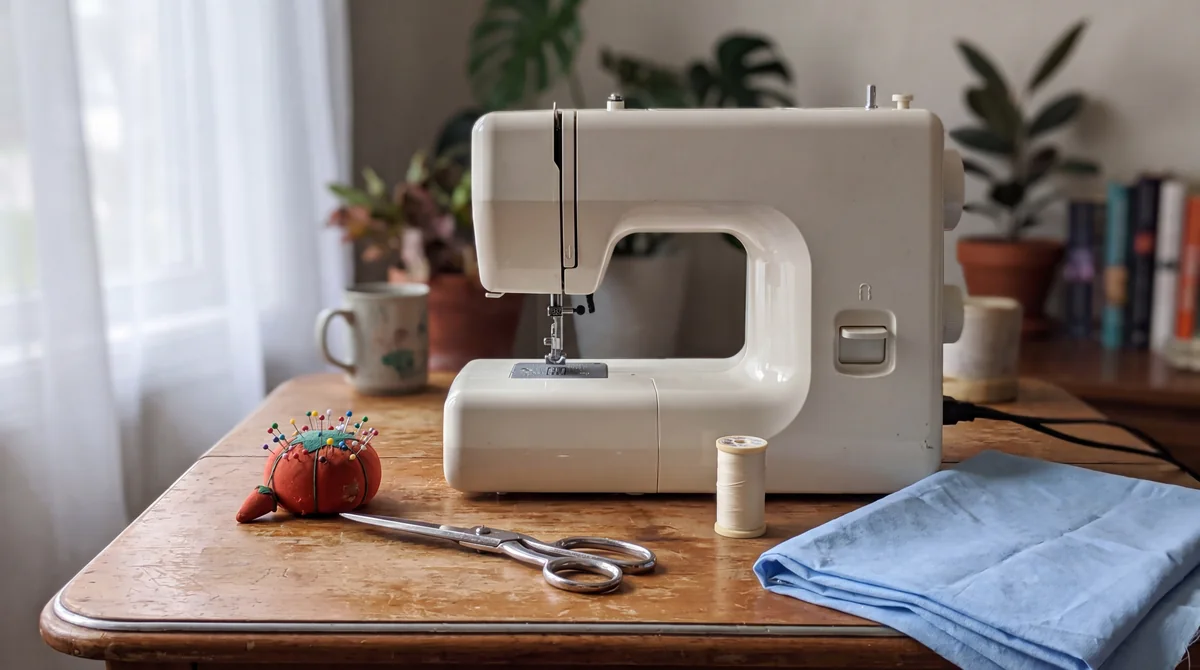
You can start on a machine or by hand. A machine sews long seams quickly, while hand sewing needs almost no equipment and is easy to pick up and put down.
What tools do you need to start sewing?
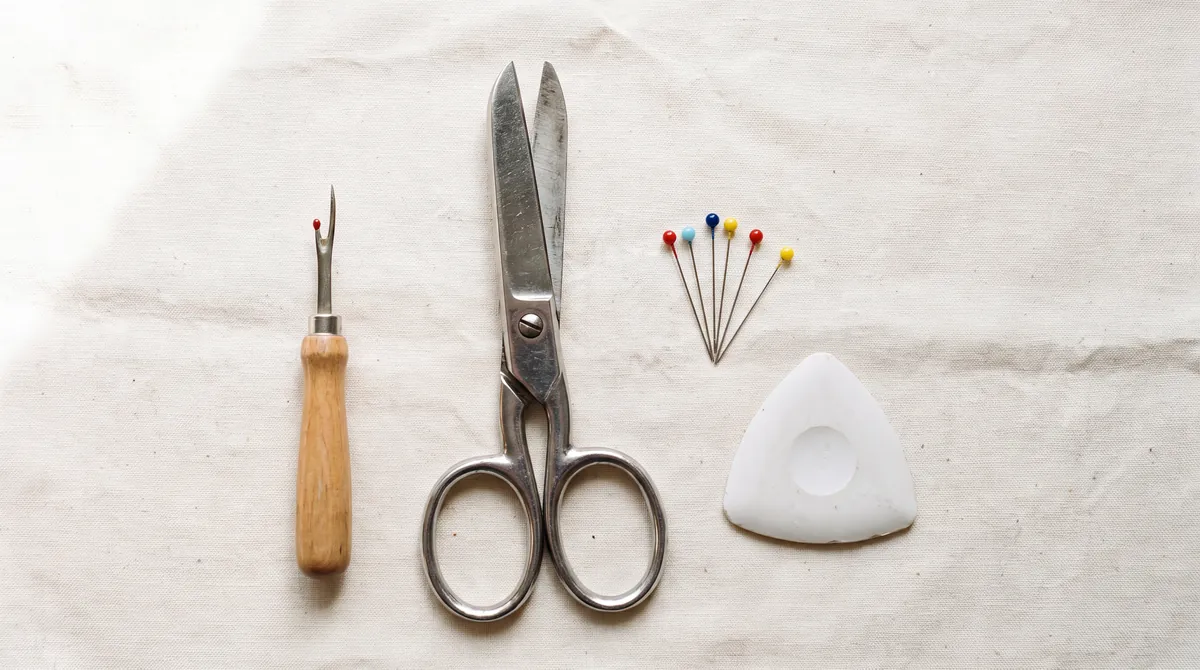
To start sewing, you need a way to stitch (a basic machine or hand needles), sharp fabric scissors, pins, thread, a seam ripper, a tape measure, a marking tool and an iron. That short list covers your first month.
Here is the minimum kit:
- A basic sewing machine with a straight stitch, a zigzag stitch and adjustable stitch length, or a pack of assorted hand-sewing needles
- Universal machine needles in size 80/12, a common choice for medium-weight cotton (SCHMETZ lists Universal 70/10 to 90/14 for woven cotton in its needles by fabric type guide)
- All-purpose polyester thread in a neutral color such as white, grey or beige
- Fabric scissors, around 8 in (20 cm) long, kept for fabric only
- Small thread snips for trimming thread tails
- Glass-head pins or sewing clips to hold layers together
- A seam ripper, a small hooked tool for unpicking stitches (you will use it, and that is normal)
- A flexible tape measure, 60 in (150 cm) long
- Tailor’s chalk or a water-soluble fabric marker
- An iron and ironing board
- About 1 yd (0.9 m) of medium-weight quilting cotton for practice
A few safety habits are worth building now. Unplug your machine before you change the needle. If you add a rotary cutter later, close the blade every time you put it down. Set your iron by fiber: cotton and linen take a high setting with steam, while polyester and other synthetics need a low setting. When in doubt, test on a scrap first.
For a fuller look at what to buy now and what can wait, see our guide to sewing machines and tools for beginners.
Your first-month sewing plan
Spend week one getting to know your machine, week two sewing straight lines, week three sewing and pressing real seams, and week four making one small project. Twenty to thirty minutes, a few times a week, is plenty.
If you are hand sewing, follow the same order and swap the machine steps for threading a needle, tying a knot and sewing a running stitch.
Week 1: Get to know your machine
- Find the threading diagram in your manual or printed on the machine body, and keep it in view while you work.
- Learn three parts by name. The presser foot is the small metal foot that holds fabric flat while you sew. The feed dogs are the little teeth under the presser foot that move fabric forward. The bobbin is the small spool underneath that forms the lower half of each stitch.
- Wind a bobbin and put it in the machine the way your manual shows.
- Raise the presser foot and thread the top of the machine. A raised foot opens the tension discs so the thread can settle between them.
- Unplug the machine and practice changing the needle once, so it never feels like a mystery.
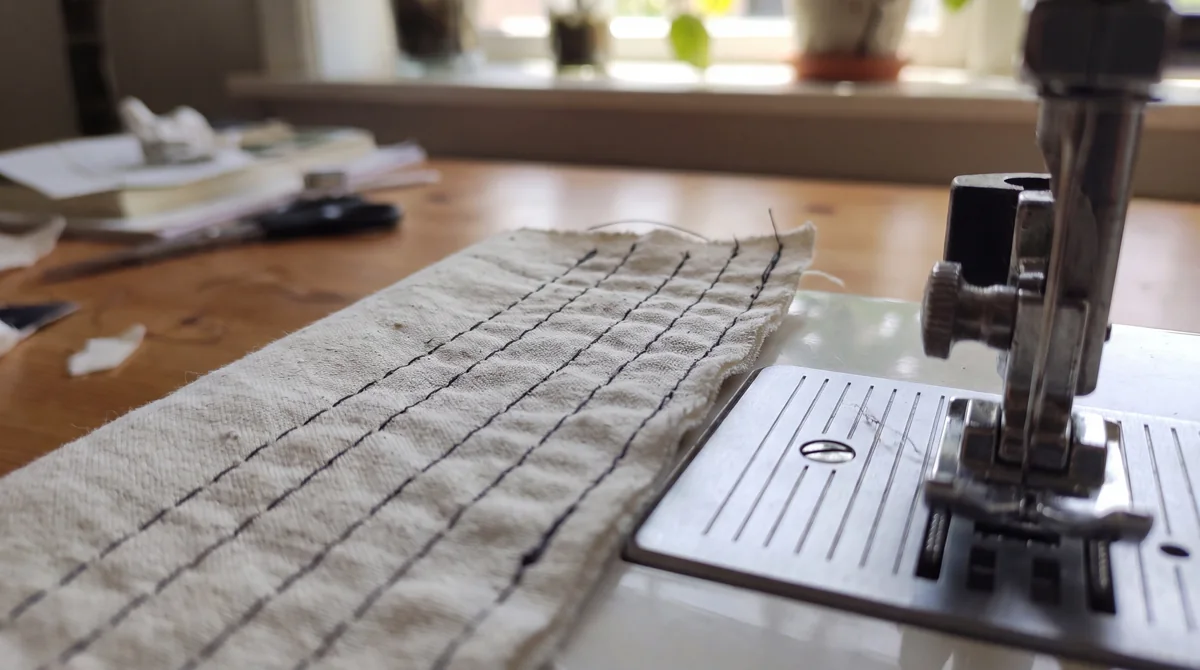
Week 2: Sew straight lines
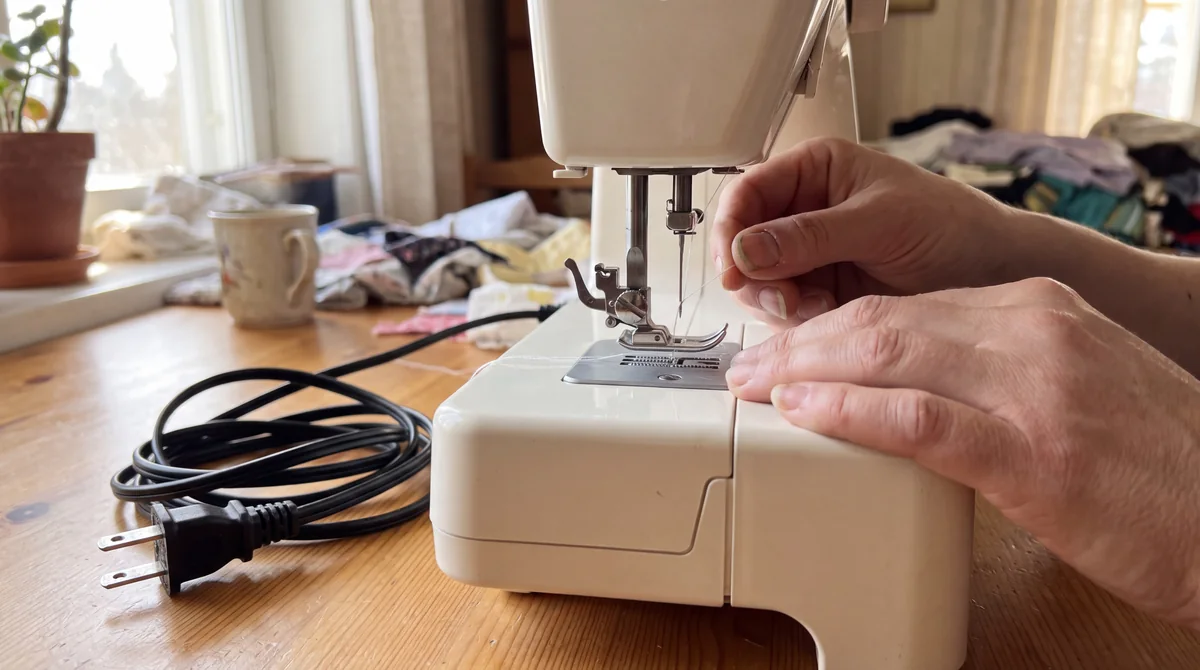
- Practice on lined paper with an unthreaded machine and an old needle, following the lines, then put in a fresh needle before you sew fabric, because paper dulls needles.
- Move to two layers of cotton and set a straight stitch length of 2.5 mm, a common default on home machines.
- Keep your eyes on the fabric edge and the guide lines on the needle plate, and let the machine do the pulling.
- Practice starting and stopping with a backstitch: sew 3 or 4 stitches in reverse at the start and end of a seam to lock the thread.
Week 3: Sew and press a real seam
- Learn your seam allowance, the distance between the fabric edge and your stitching line. Most dressmaking patterns use 5/8 in (1.5 cm), so practice that width first.
- Place two fabric rectangles right sides together and sew one seam at 5/8 in (1.5 cm).
- Press the seam flat, then press it open. Pressing means lifting and lowering the iron, not sliding it back and forth.
- Practice turning a corner: stop with the needle down in the fabric, lift the presser foot, turn the fabric, lower the foot and keep sewing.
Week 4: Make one small project
- Choose a project with straight seams only, such as a drawstring bag, a pillowcase or a simple tote.
- Prewash your quilting cotton the same way you will wash the finished item, so it shrinks before you cut rather than after.
- Cut your pieces on the grain, the direction the threads run in woven fabric. The lengthwise grain runs parallel to the selvage, the firm finished edge along each side of the fabric that does not fray.
- Sew, press and finish your project, one seam at a time.
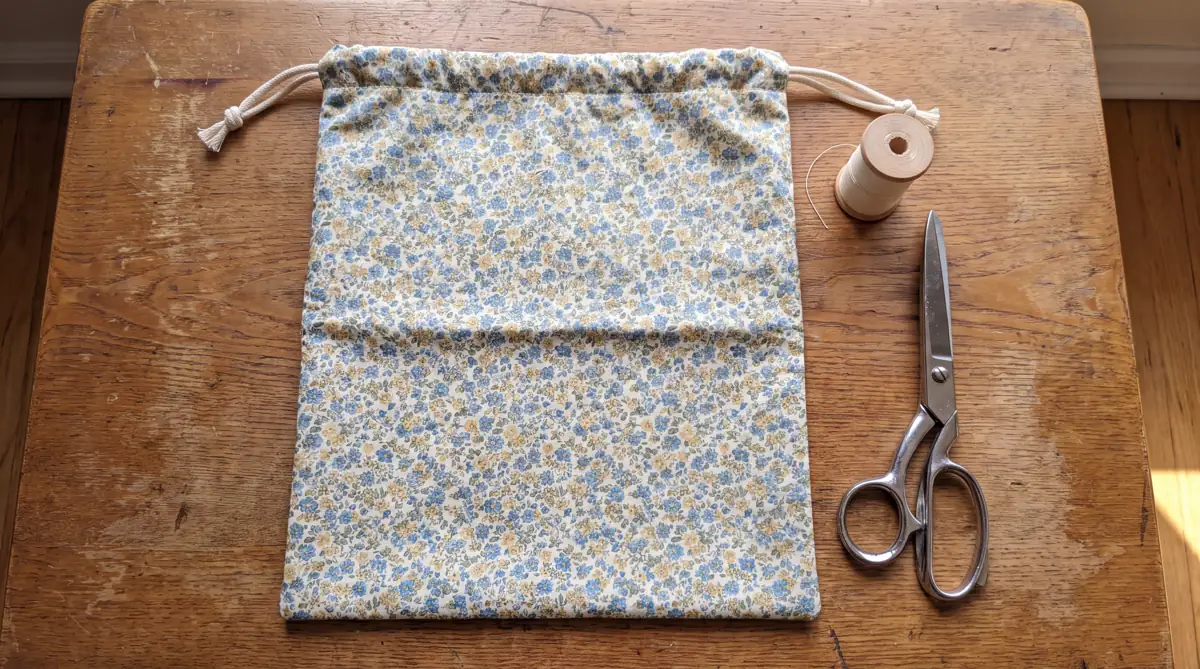
When you are choosing what to make, our list of easy sewing projects for beginners puts seven straight-seam projects in order from easiest to a small step up, with the skills each one uses.
Common beginner worries and simple fixes
Most early sewing problems come from threading, the needle or sewing too fast, and all three are easy to fix. Here are the worries that come up most often.
“What if I break my machine?”
Beginner mistakes like tangled thread or a bent needle are rarely serious. Most problems trace back to threading, a dull or bent needle, or a bobbin put in the wrong way, so rethreading fixes a lot. Keep your manual close and unplug the machine before you touch the needle area.
“Why is thread bunching up under my fabric?”
A tangle of thread underneath (often called a bird’s nest) usually means the top thread is not seated in the tension discs. Raise the presser foot, rethread the top completely and check the bobbin sits the way your manual shows. Hold both thread tails for the first few stitches.
Bobbin tension (how tightly the bobbin case holds the lower thread) is rarely the cause, so leave it alone until you have checked everything else.
“My lines are wobbly.”
Slow down and watch the guide line, not the needle. A strip of painter’s tape on the machine bed at your seam allowance gives you a clear edge to follow. Wobbly lines are normal in the first weeks and improve with short, regular practice.
“My machine skips stitches or the needle broke.”
Put in a fresh needle and make sure it goes all the way up, facing the direction your manual shows. Needle maker SCHMETZ suggests a new needle after about 8 hours of sewing (SCHMETZ), and many sewists simply put in a fresh one at the start of each new project.
Sewing over pins can also bend or break a needle, so pull each pin out just before it reaches the presser foot.
“There are too many words I don’t know.”
That is normal, and you only need a handful to start. Look words up as you meet them, and they will stick faster than a list.
Your beginner sewing guide map
This page is the hub for the Getting Started cluster. Each guide below covers one topic in depth, so you can read them in order or jump to the one you need today.
Sewing machines and tools for beginners
What a first sewing machine really needs, the short core kit to buy now, the right needle and pressing tools, and which extras can wait until you know what you like to sew. Start with sewing machines and tools for beginners.
Basic sewing techniques every beginner should know
The hub for core skills: threading, winding a bobbin, seam allowance, straight lines, backstitching, corners, seam finishes, pressing and sewing on a button, with the key number or tip for each. Start with basic sewing techniques every beginner should know.
How to choose fabric for your first projects
Why stable woven cotton is the friendliest first fabric, how to read a bolt end or label, how much to buy, and which fabrics to save for later. Read how to choose fabric for your first projects.
Easy sewing projects for beginners
Seven straight-seam projects, from cloth napkins to a simple tote and a scrunchie, in order from easiest to a small step up, with the skills and a rough fabric amount for each. Find easy sewing projects for beginners.
What should you learn after the basics?
After you can sew a straight seam, press it and finish one small project, learn seam finishes next, then curves, then how to read a simple pattern. Each one builds on the skills from your first month.
Seam finishes stop raw edges from fraying in the wash. A zigzag stitch along the edge is the simplest version, and it uses a stitch your machine already has.
Curves come next, then reading a pattern once the terms on the envelope make sense.
Our basic sewing techniques guide covers seam finishes alongside the other core skills, and choosing fabric for your first projects helps you move beyond quilting cotton when you feel ready.
FAQ
Can I teach myself to sew?
Yes. Many adults teach themselves at home using their machine manual, written guides and small practice projects. Learning one skill at a time in short sessions makes self-teaching much easier.
Do I need an expensive sewing machine to start?
No. A basic machine with a straight stitch, a zigzag stitch, adjustable stitch length and an easy-to-reach bobbin is enough for your first year. Extra stitches and features can wait until you know what you like to sew.
What is the easiest thing to sew first?
A drawstring bag or a pillowcase is one of the easiest first projects. Both use straight seams, need only a small amount of fabric and do not have to fit a body.
How often should I practice sewing as a beginner?
Short sessions of 20 to 30 minutes a few times a week work well for most beginners. Regular practice builds control faster than one long session once a month.
Should I wash fabric before sewing?
Yes, prewash any fabric you plan to wash later. Cotton can shrink in the first wash, so washing it before you cut keeps your finished project the size you made it.